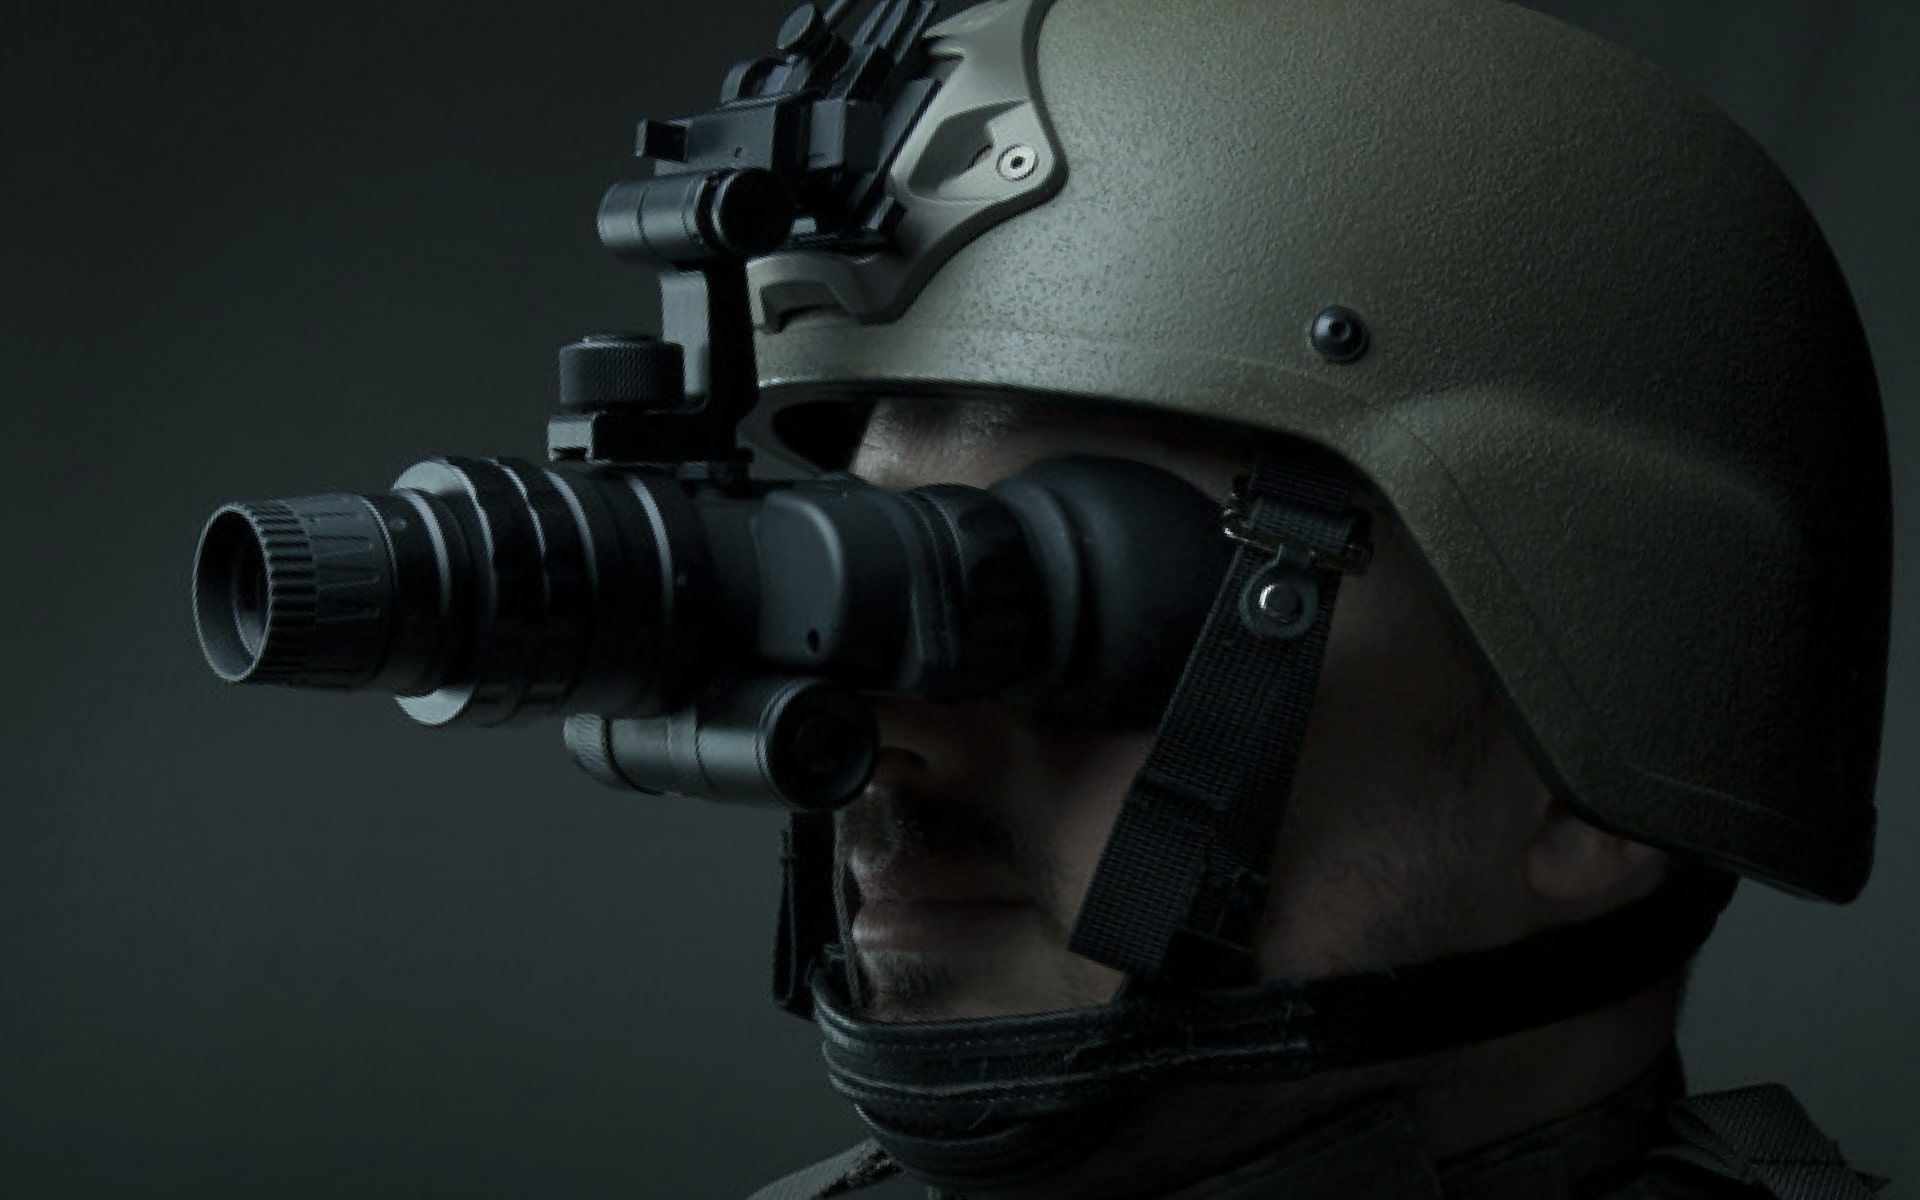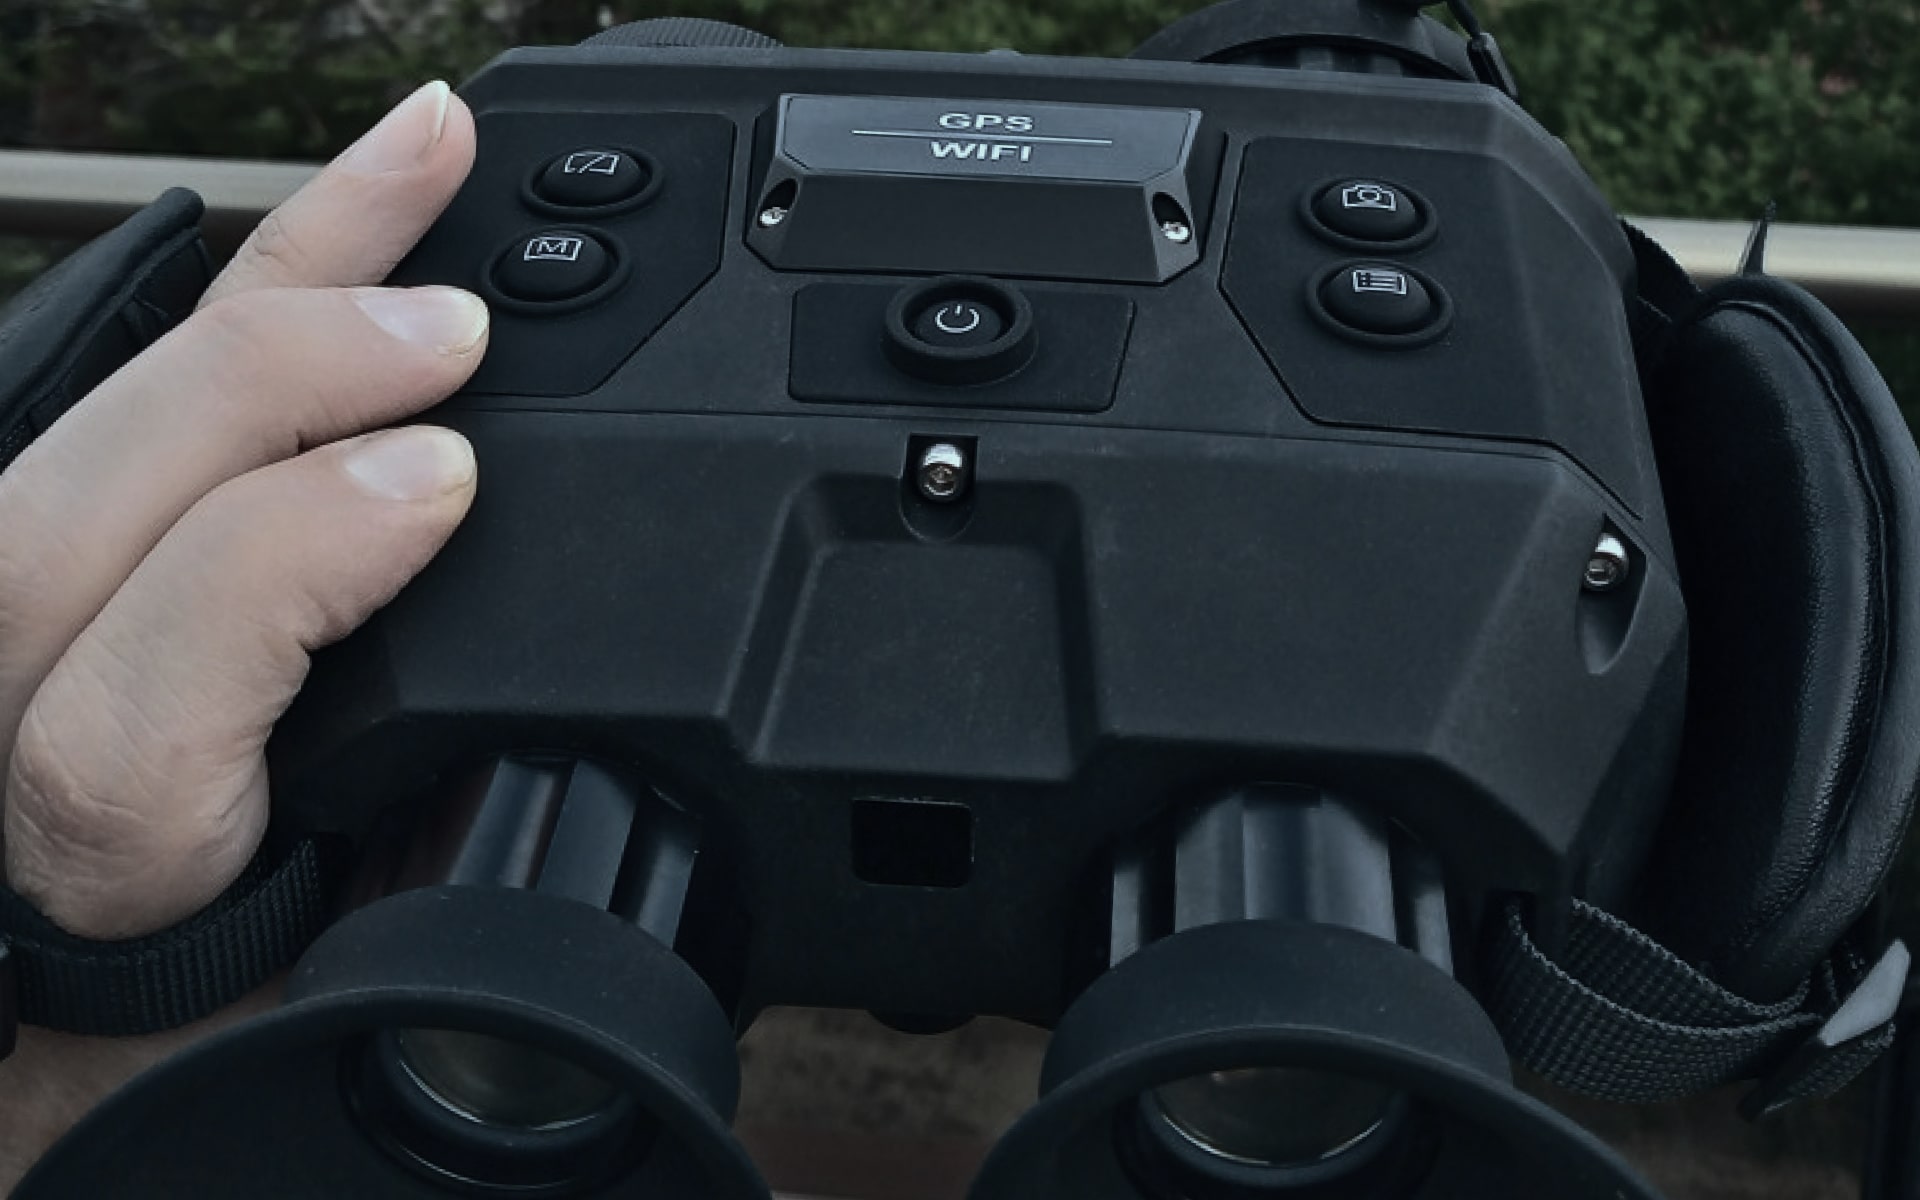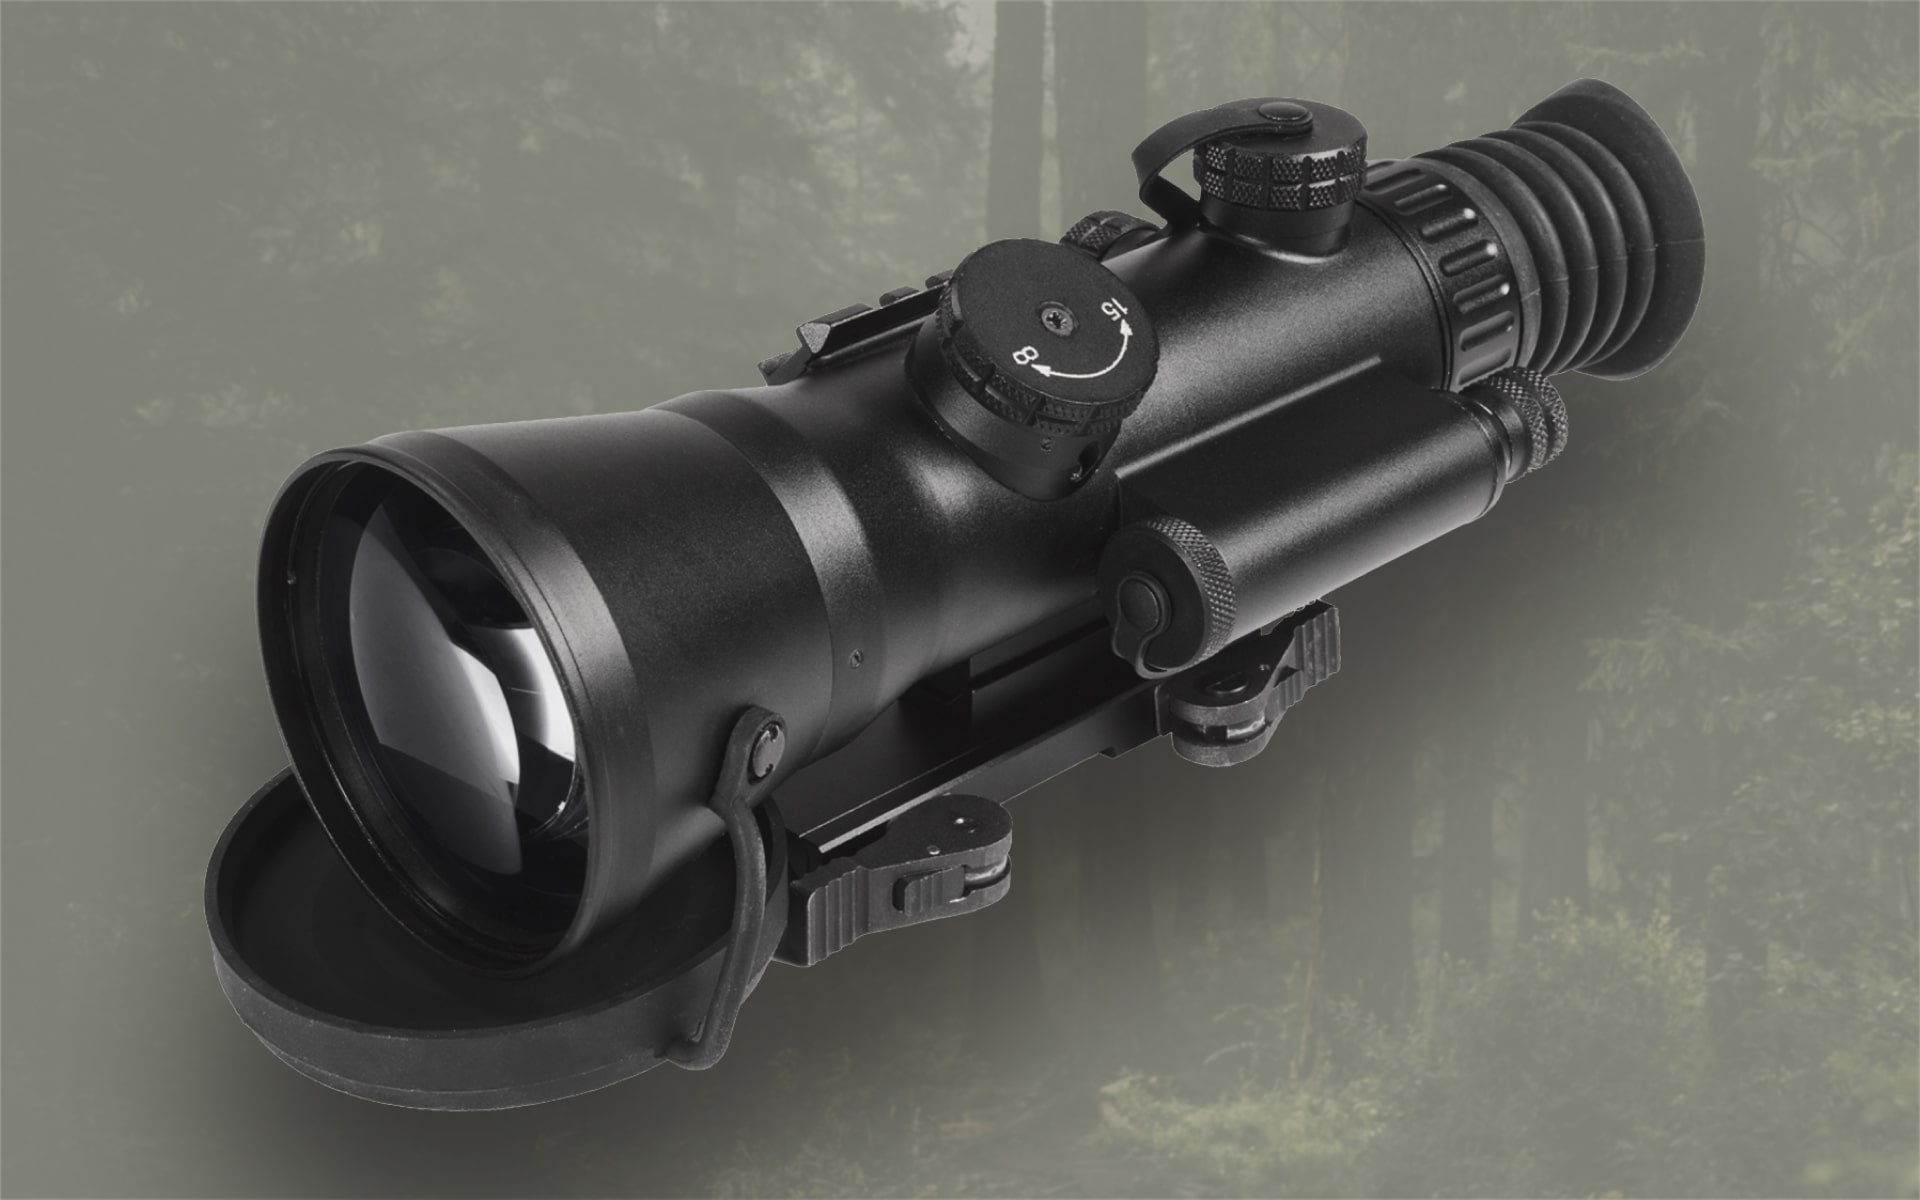
A deliberate, supervised range process can confirm alignment and usability without turning a routine equipment check into a rushed exercise.
A night vision scope deserves a more careful zero-check than a quick look through the eyepiece and a few hurried adjustments. The goal is modest: confirm that the scope, mount, and host equipment are working together as expected under the conditions in which they will be used. That means planning a lawful, supervised range session, preparing in daylight, and treating every change as something to record and verify.
This is not a guide to tactical employment or long-range performance. It is a safety-focused method for identifying basic alignment, handling, and equipment problems before they become confusing after dark. Follow the scope and host equipment manufacturers’ instructions, and use the rules of the range without improvisation.
Start with a lawful, supervised plan
Before going to the range, confirm that the activity is lawful where it will take place and that the range permits the equipment. A qualified range officer or other responsible supervisor should be involved, particularly when a firearm is part of the setup. Arrange a time when the range can support the lighting conditions required for the check, and confirm how the range handles darkness, artificial illumination, and ceasefires.
Decide in advance what the session is meant to establish. A useful objective might be confirming that the scope remains attached, that the sight picture is usable, and that a small adjustment produces a predictable change. Avoid combining this check with a series of unrelated changes. Replacing the mount, changing ammunition, moving the optic, and changing the viewing mode at the same time can make any result difficult to interpret.
Bring the scope’s instructions, the correct tools, fresh batteries if the manual calls for them, eye and ear protection, a notebook, and a simple way to mark the setup. A headlamp with a restrained beam can help with equipment handling, but it should not be used in a way that distracts other range users or compromises night adaptation.
Do the important work in daylight
Daylight preparation is where many avoidable problems can be found. Inspect the scope body, controls, lenses, battery compartment, cables, and mount for damage, looseness, or contamination. Check that protective caps, covers, and controls move as intended. Do not force a stiff adjustment or continue with equipment that shows cracking, stripped threads, moisture inside the housing, or a battery compartment that will not close securely.
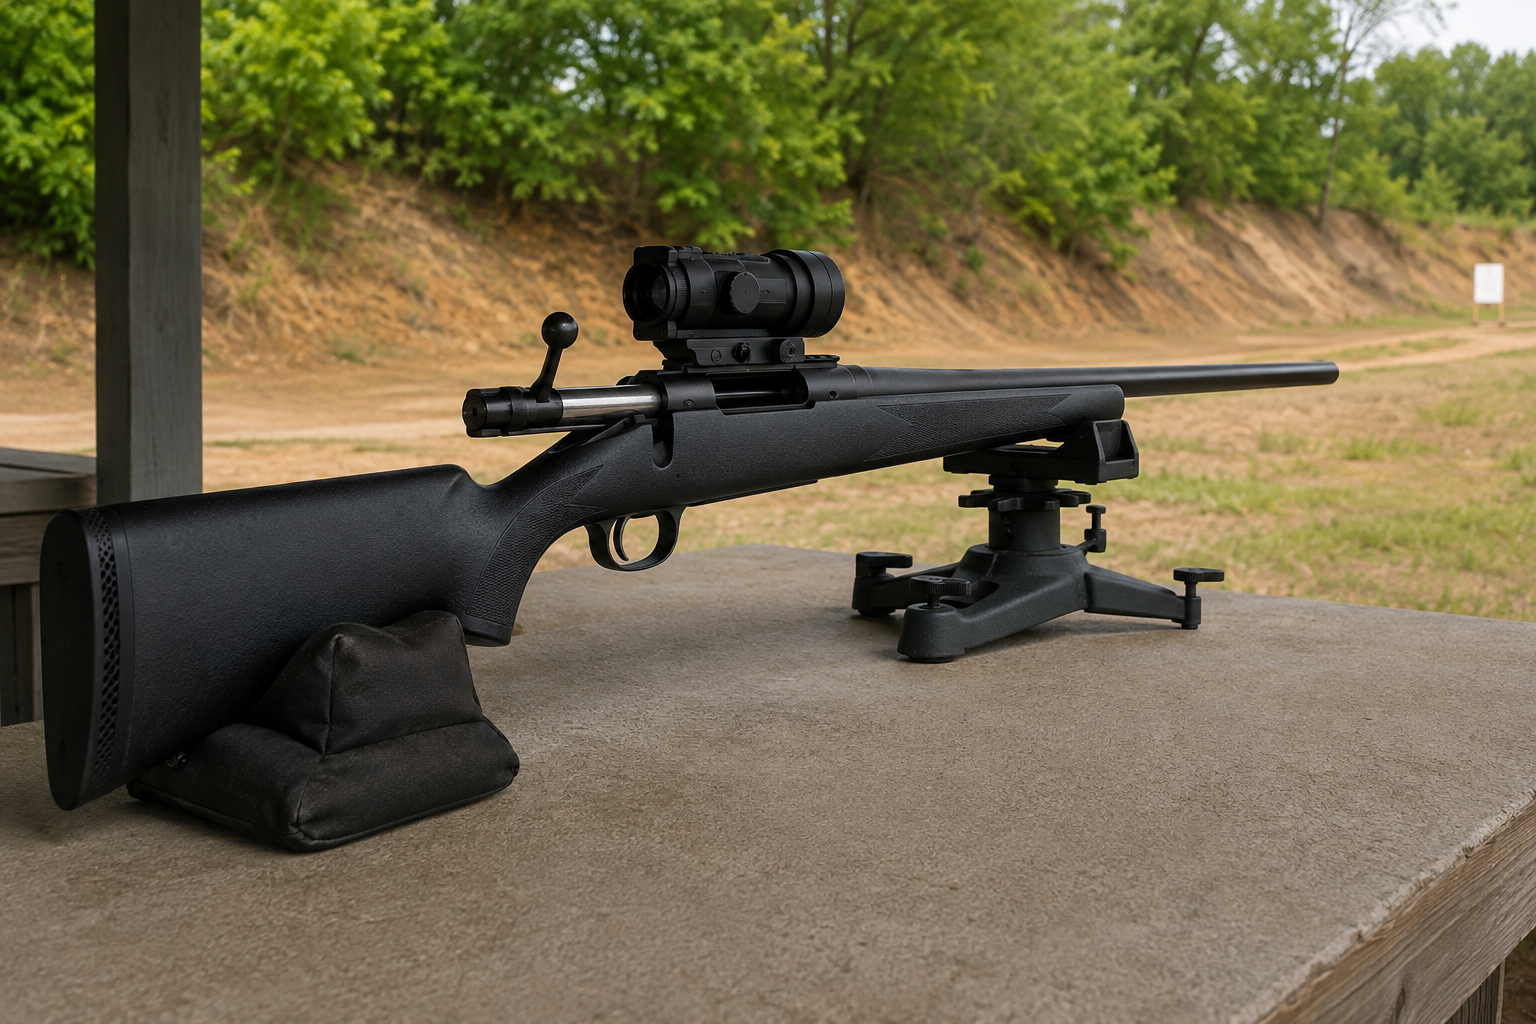
Mounting ergonomics matter as much as the optical image. The scope should sit securely and leave a comfortable, repeatable position for the user’s head and shoulders. Check that the eye relief is appropriate for the equipment and that the viewing position does not require leaning, stretching, or placing the face too close to a recoiling firearm. A setup that is technically aligned but awkward to shoulder is not ready for confirmation.
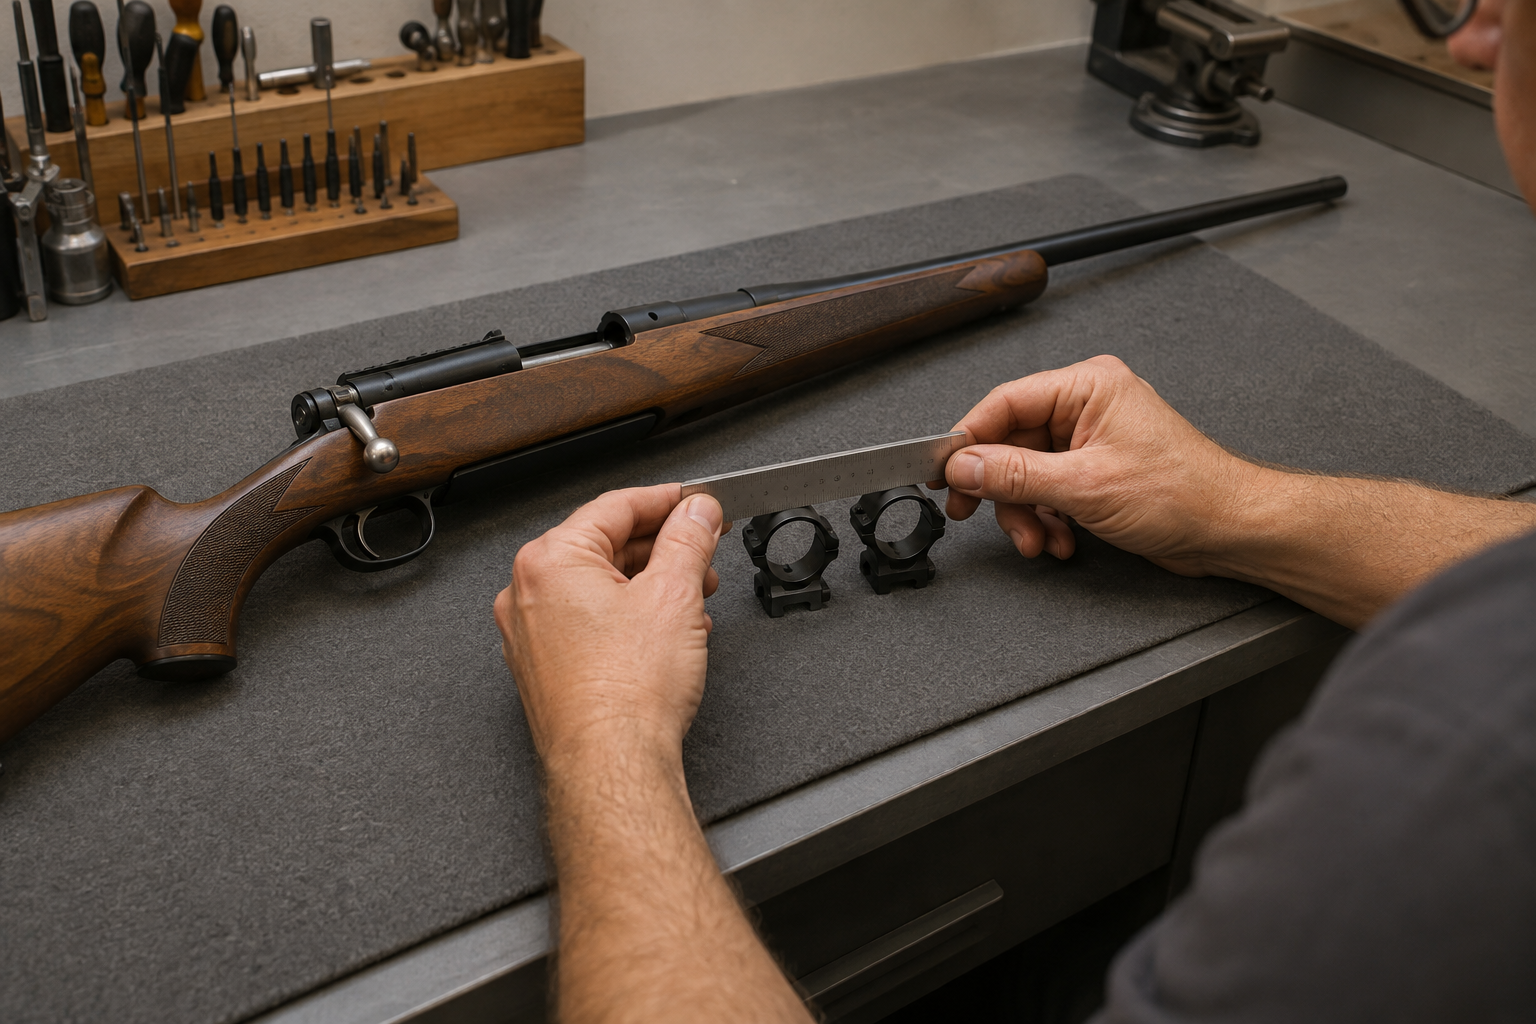
With the firearm unloaded and pointed in a safe direction, verify that the mounting surfaces are clean and that the attachment is seated according to the relevant instructions. Check fasteners without guessing at torque values. If the manufacturer specifies a tightening method, use it; if the required information is unavailable, ask a qualified gunsmith or range professional rather than relying on feel. The same restraint applies to adapters, risers, and other interface pieces.
Prepare a backstop that remains safe after dark
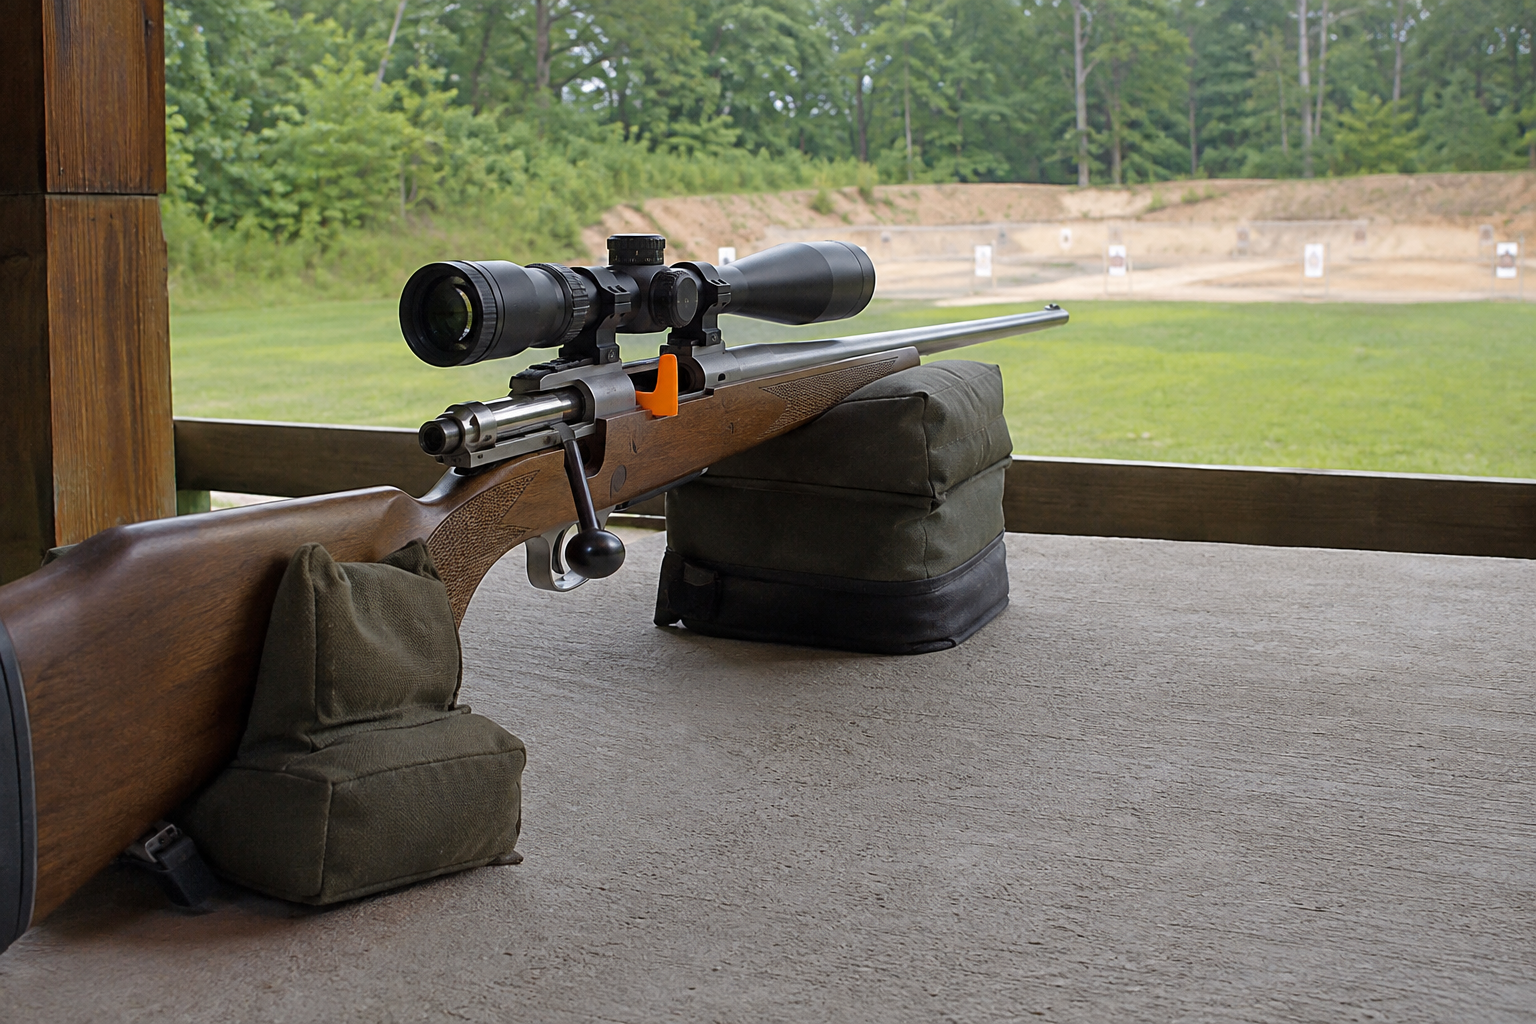
A suitable backstop is essential in daylight and even more important when visibility is reduced. Use a range with a backstop designed for the activity, and confirm that its boundaries and surrounding area are understood by everyone present. A paper target alone is not a backstop. Do not conduct the check where a missed shot could travel toward people, buildings, roads, water, or unknown terrain.
Before darkness, inspect the target area and the route to it. Make sure target supports, firing positions, and safety markers can be identified without wandering downrange. Follow the range’s commands for loading, unloading, and checking the line. When a ceasefire is called, make the firearm safe exactly as directed and do not rely on the scope’s image, an illuminated reticle, or a device’s electronic status as proof that the line is safe.
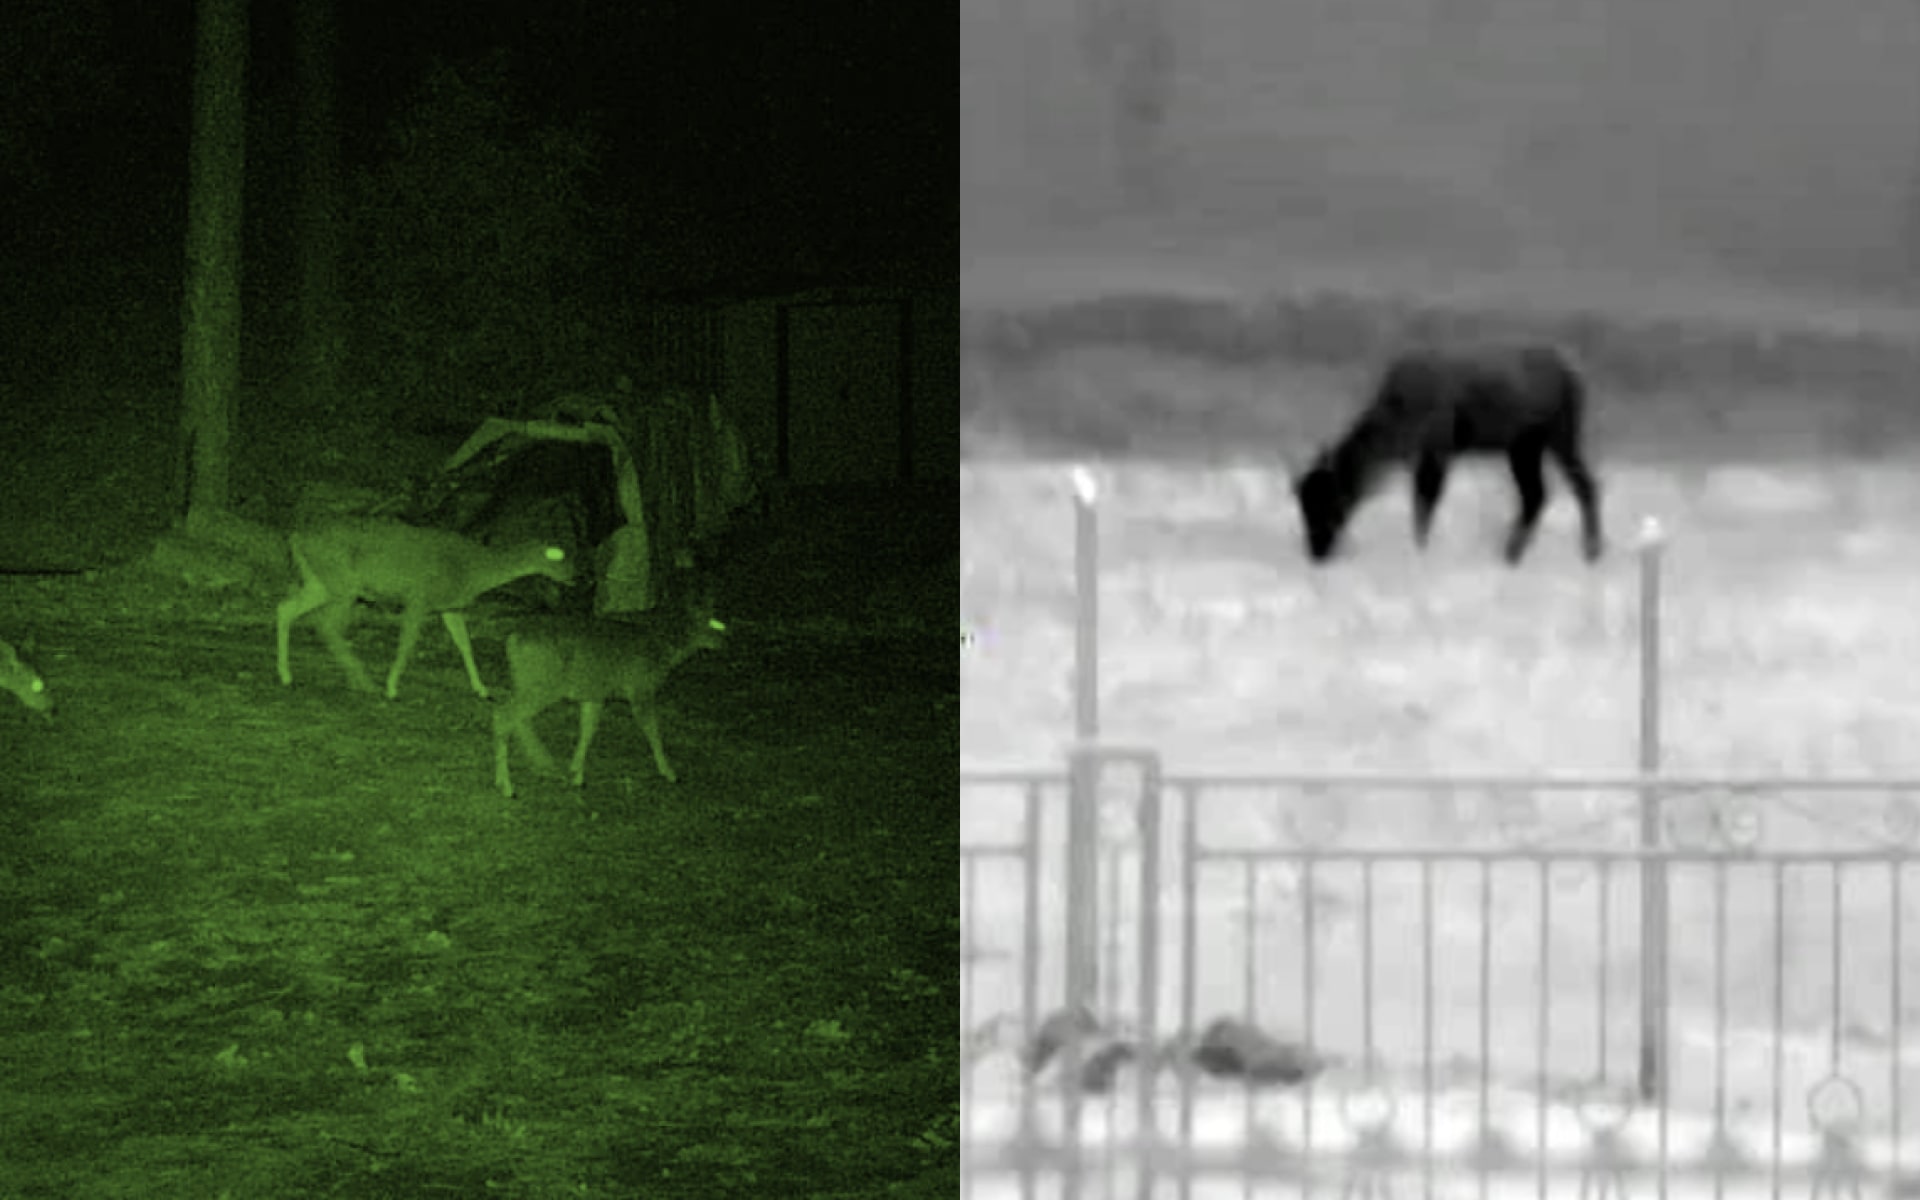
Night vision can reveal details that are not obvious to the unaided eye, but it does not make an unsafe environment safe. It can also change how distance, contrast, and background objects appear. Keep the target area simple and controlled. If the scene is difficult to interpret, stop and restore a known safe condition rather than trying to solve the problem through the optic.
Confirm the setup in small, controlled steps
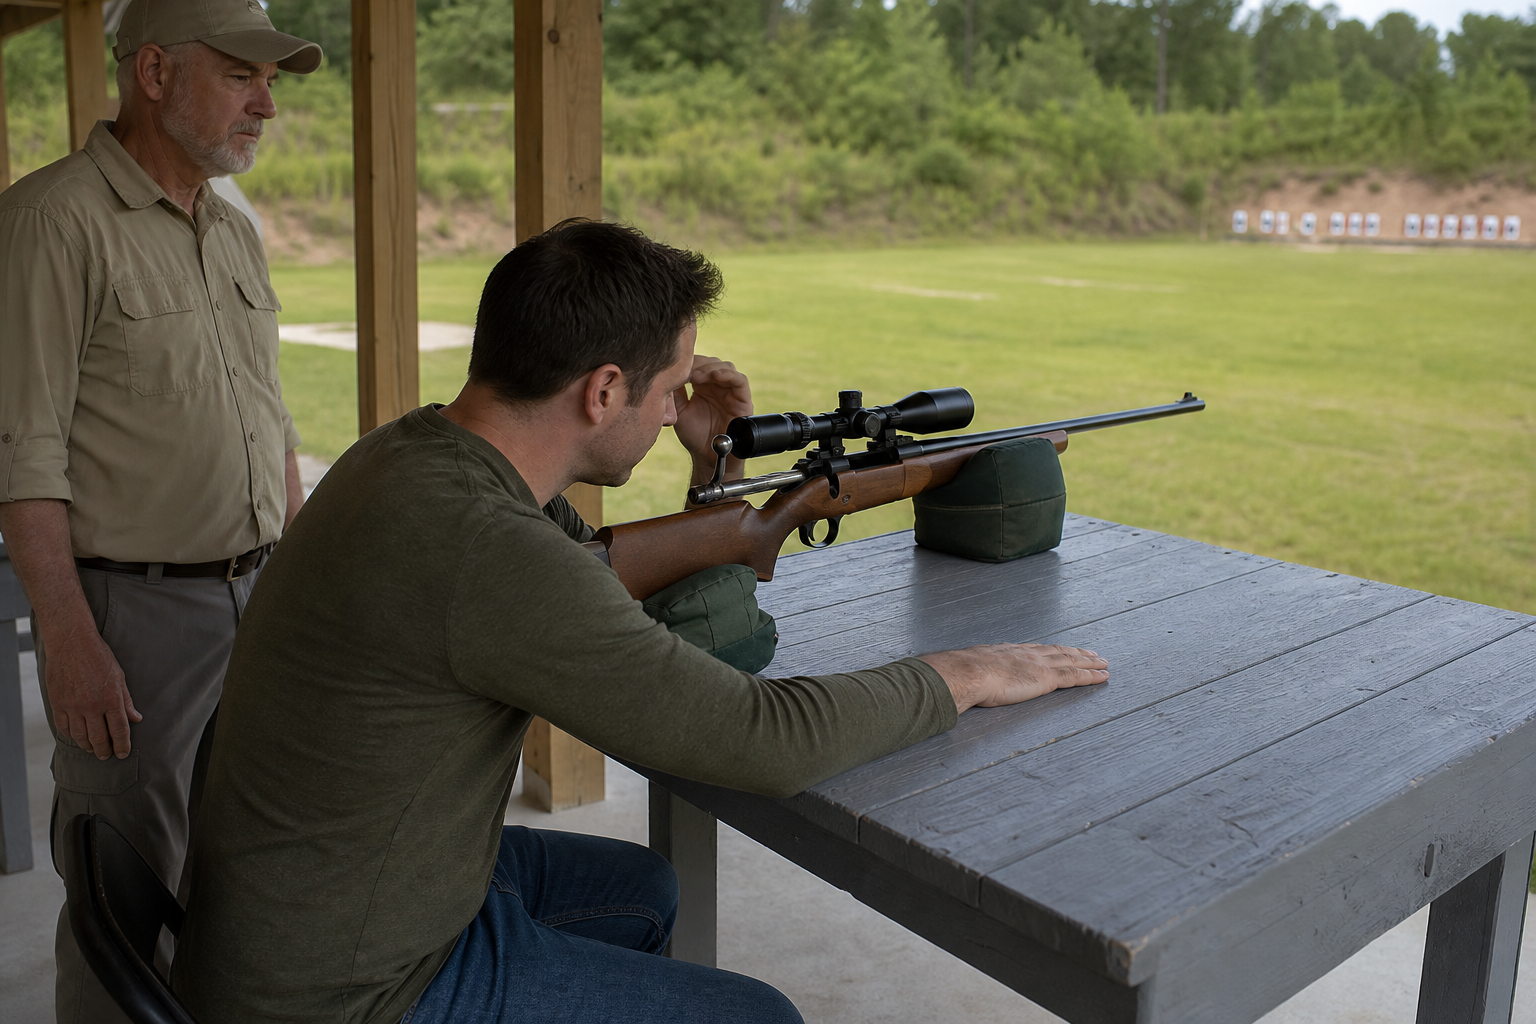
Begin with the lowest-risk confirmation allowed by the range and the equipment instructions. If a daylight optical or mechanical check is appropriate, complete it before relying on the night vision image. Then establish a stable, comfortable position and use the same head position each time. Small changes in eye position can alter the apparent view through some systems, so avoid judging alignment while shifting around the stock or rest.
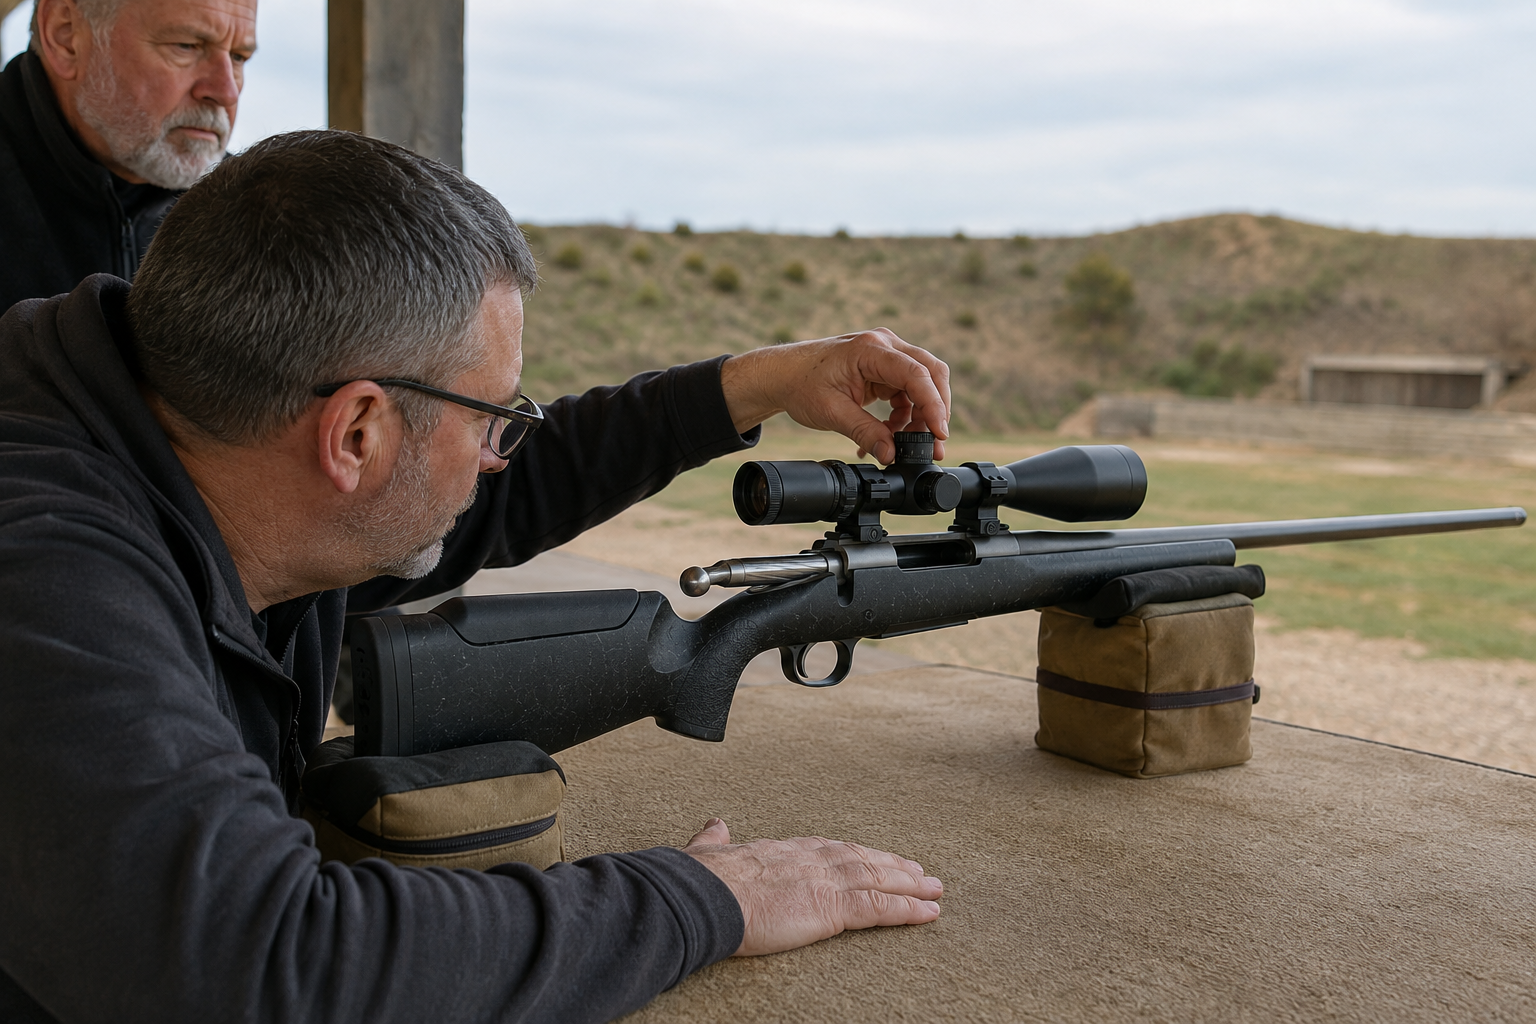
Use only the adjustment process described by the manufacturer. Make one small change at a time, and pause to observe what happened. Do not turn multiple controls together or make large corrections because the first result looks disappointing. The purpose of a zero-check is to learn whether the system responds consistently, not to force a particular result in one session.
Where the range procedure permits live-fire confirmation, keep the firing sequence deliberate and follow all commands from the supervisor. Maintain a safe direction and trigger discipline, and handle the firearm as loaded whenever it is not confirmed clear. A spotter can help monitor the target area and record observations, but the spotter should never distract the person responsible for safe handling. If the image washes out, flickers, disappears, or becomes difficult to interpret, stop the sequence before attempting any adjustment.
Record what changed and what did not
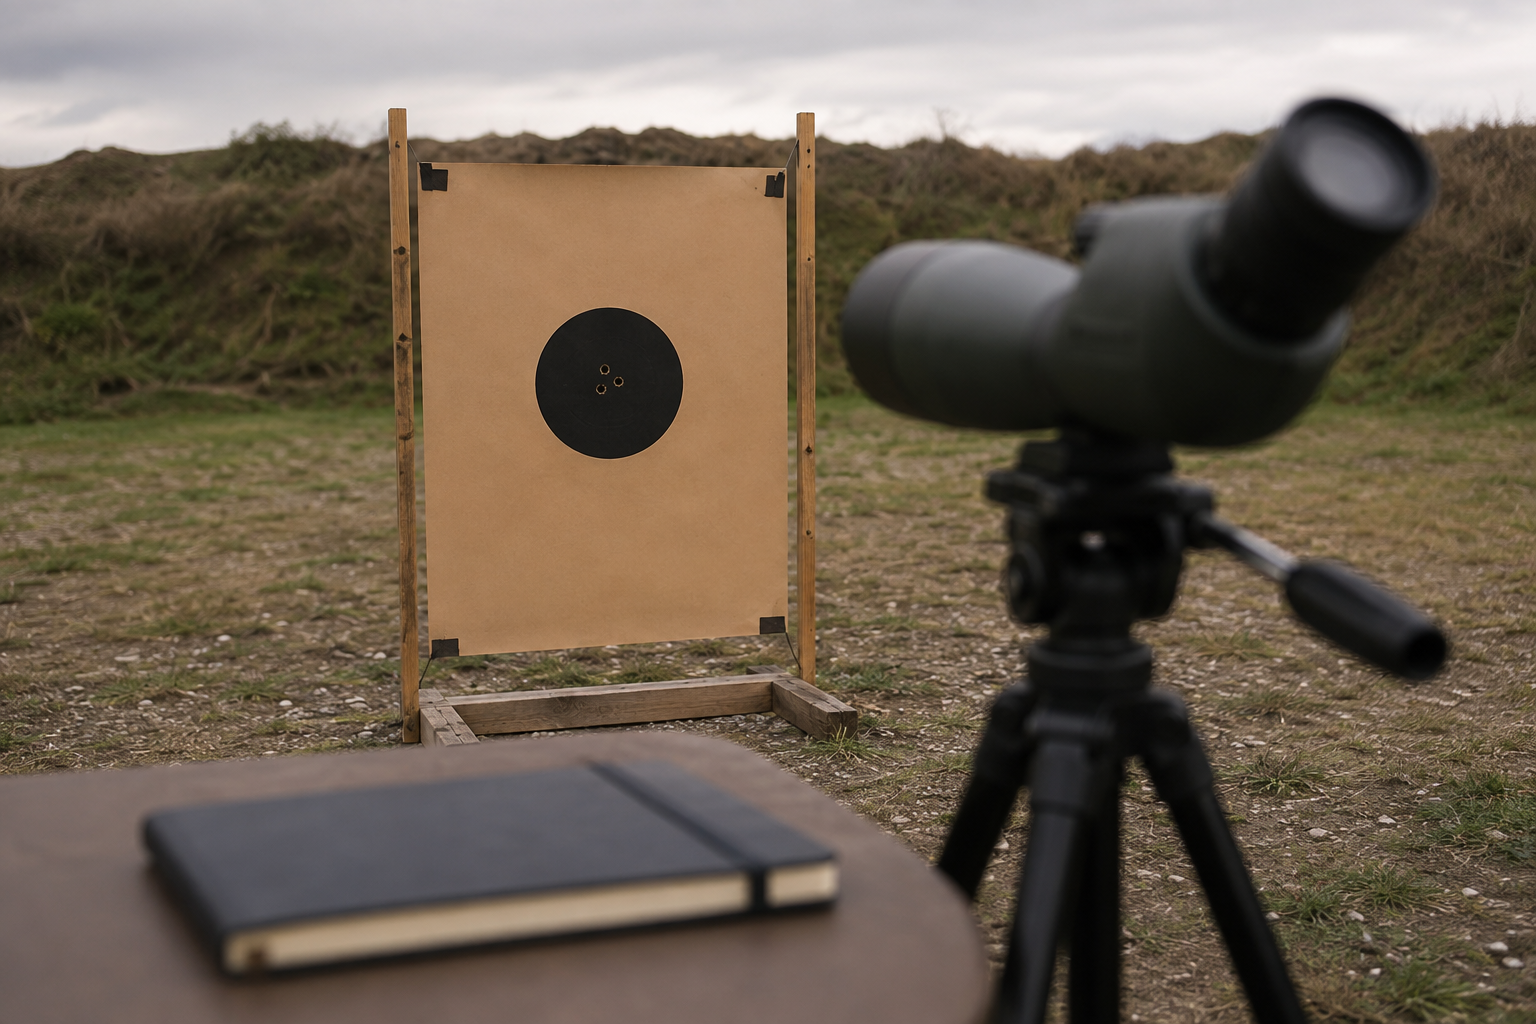
A short record is more useful than memory, especially when several sessions take place under different lighting conditions. Note the date, general conditions, scope settings, mount configuration, battery status, and any relevant changes from the previous check. Record the adjustment direction and amount as described by the manufacturer, along with the observed result. Avoid inventing precision that the equipment or target setup cannot support.
Also note practical details: whether the controls were easy to reach without disturbing the mount, whether the eye position was repeatable, and whether the image remained comfortable to view. If the setup required an awkward shoulder position or frequent contact with the scope, write that down. Ergonomic problems often become more serious when gloves, protective equipment, or cold hands are involved.
Keep the record with the scope’s instructions or in a clearly labeled equipment file. Mark any unresolved issue rather than quietly working around it. A note saying that the result was uncertain is valuable; it prevents an uncertain confirmation from being treated as a reliable one later.
Know when to stop and seek help
Stopping is the correct response to unexpected behavior. End the check if the mount shifts, a fastener loosens, the reticle or image behaves erratically, controls stop responding, the housing becomes unusually hot, a lens fogs internally, or the equipment emits an unfamiliar sound or smell. Make the system safe, unload and clear the firearm as directed, and remove the equipment from service until it can be inspected.
Do not open sealed housings, bypass safety features, substitute batteries without checking compatibility, or continue firing to see whether a problem settles down. Contact the manufacturer or a qualified technician for equipment concerns, and consult a competent gunsmith for mounting or host-equipment issues. If the range environment becomes confusing because of darkness, weather, people, or visibility, end the session even if the equipment itself appears normal.
A careful zero-check is successful when it leaves a clear record and a trustworthy understanding of the setup. Sometimes that means confirming consistent operation. Sometimes it means discovering that the mount, viewing position, or scope needs attention before any further use. Either outcome is useful, provided the process remains controlled, lawful, and willing to stop.